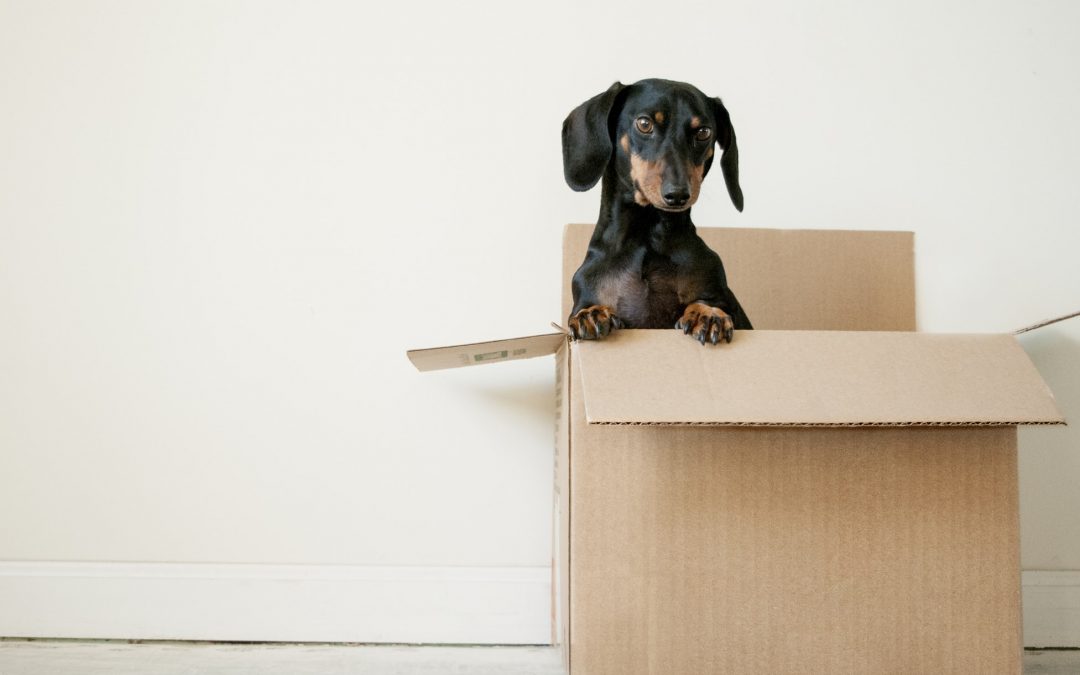
No matter how much fun you try to make it, moving out is a stressful experience. The purging. The packing. The U-Haul rental. You don’t even realize how many moving parts are involved until you actually start doing it. The most important part, however, happens once the space is entirely empty, and all the stuff has been removed.
This is a move-out inspection. That’s when a landlord conducts a rental walkthrough to make sure nothing is broken, and everything’s in working order for the next tenant. From the tenant’s perspective, it’s the moment of truth. Their landlord or property management company will determine whether they’re going to get their security deposit back.
This is also where tensions between a landlord and tenant can culminate unnecessarily. All that both sides need to understand is how to conduct a move-out inspection properly. There are certain pieces of information that both the landlord and tenant need to consider to have a smooth moving out process. We’re going to tell you how you can make it as smooth as possible.
Why You Need a Move-Out Inspection
A move-out inspection isn’t meant to be a Simon Cowell-esque critique of the rental. The point is to look at its current condition and compare it to when the tenant first moved in. For example, if there were scratches on the hardwood when the tenant moved in — a landlord can’t point to it as damage during the move-out.
This is why it’s so critical from a tenant’s perspective to point out any damage in a landlord walkthrough when moving in. Don’t rely on your landlord to catch everything. Even if there’s something small like scuffs on a door or a slightly squeaky door handle, simply make a note of those things. You have to be both detailed and diligent. Otherwise, you may end up being wrongly liable for those little things you thought weren’t a big issue.
How to Prepare for a Rental Walkthrough
From a landlord’s perspective, conducting a move-out inspection is pretty straightforward. You need to start by scheduling a date for the inspection itself. In British Columbia, a landlord will bring a printed copy of the Condition Inspection Report that was conducted before the tenant moved in. Then they perform move-out inspection itself, sign the paper, and give the tenant a copy.
The tenant’s role in the move-out inspection is basically to ensure everything looks good in the rental. They need to conduct a deep clean of the rental and make sure things like carpets, appliances, and windows are clean. They also need to address any small damages such as nail holes or wall scuffs, as well.
The Consequences of a Move-Out Inspection
If everything goes according to plan and both the landlord and tenant are happy with the current condition of the rental — fantastic! You share a friendly handshake and wish each other luck with no issues.
If things go the opposite way and the tenant has left significant damage to the rental without addressing it — that could mean the loss of a security deposit or at least some deductibles. This is why tenants need to make sure they accurately assess the condition of the rental when they move in. Landlords, on the other hand, need to take this opportunity to protect their investment for future tenants.
Not sure if you’re up for the task of conducting a move-out inspection all by yourself? We can help with that. Visit our site to get the property management assistance you need today and save yourself the stress.